Create, edit or delete tiles
As an admin, you can create, edit or delete tiles right from the Manage tiles page.
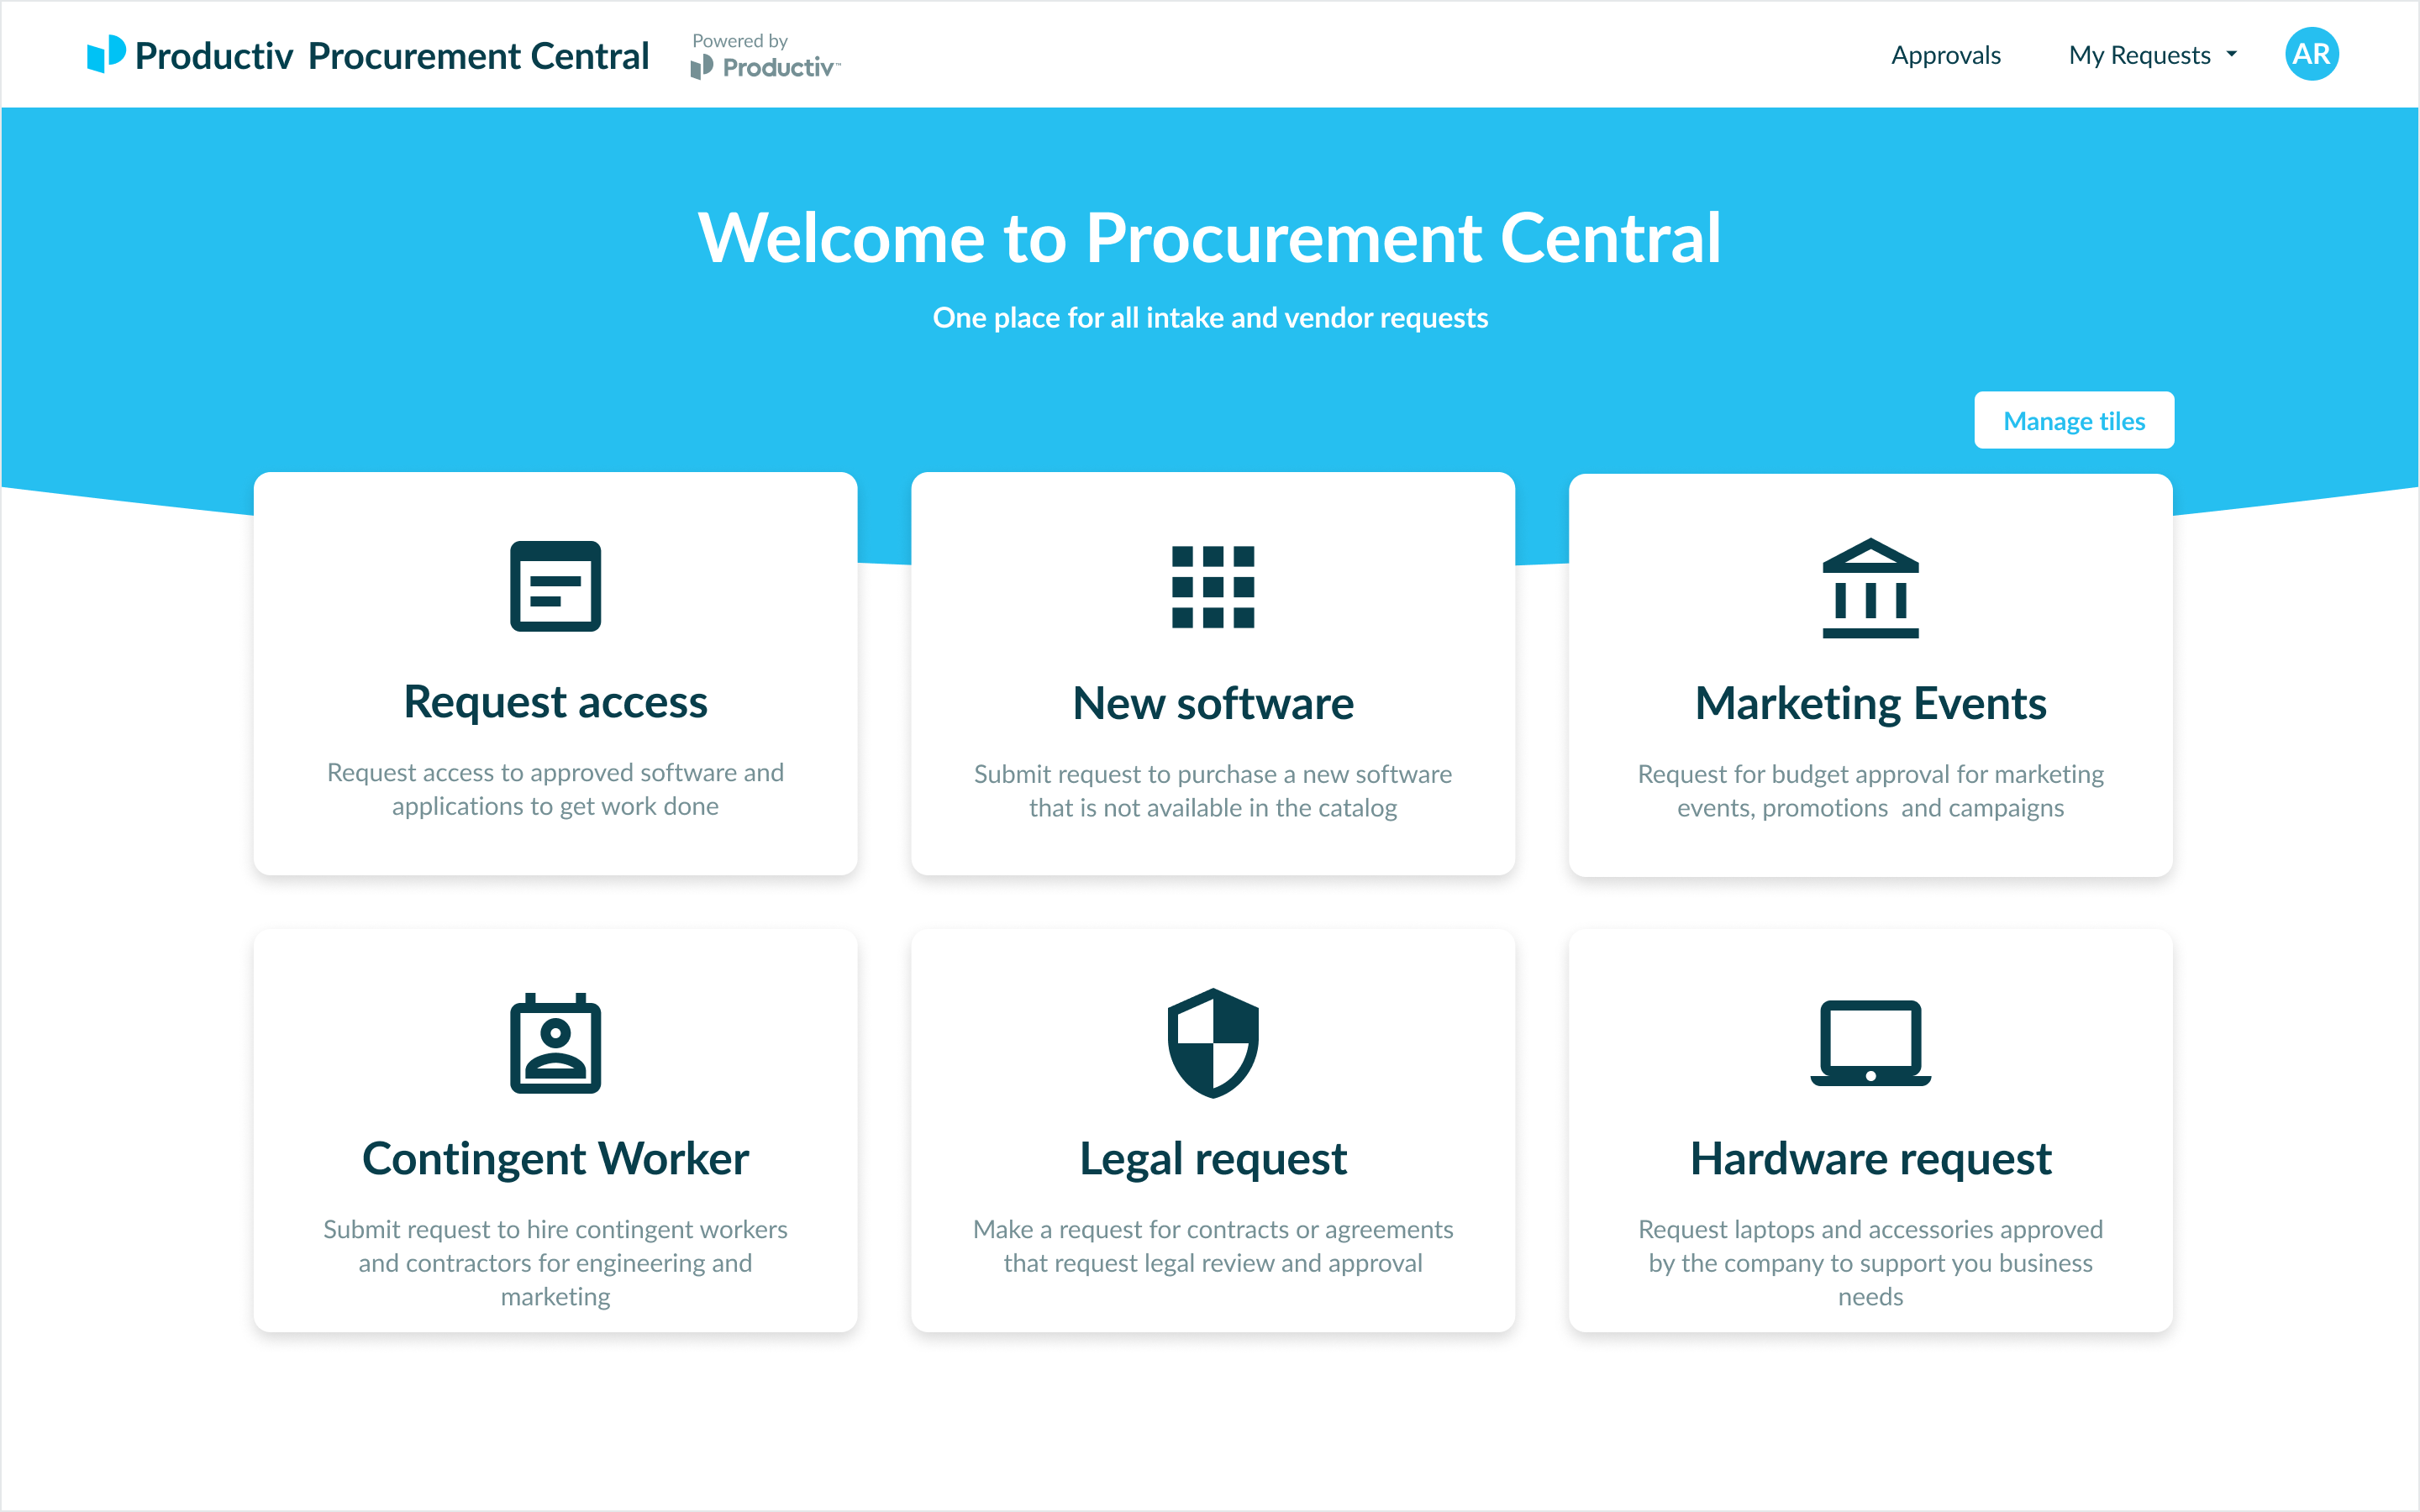
- Navigate to the Productiv page (ensure you are logged in as an admin).
- Click the “Manage tiles” button visible in the top right portion of the page.
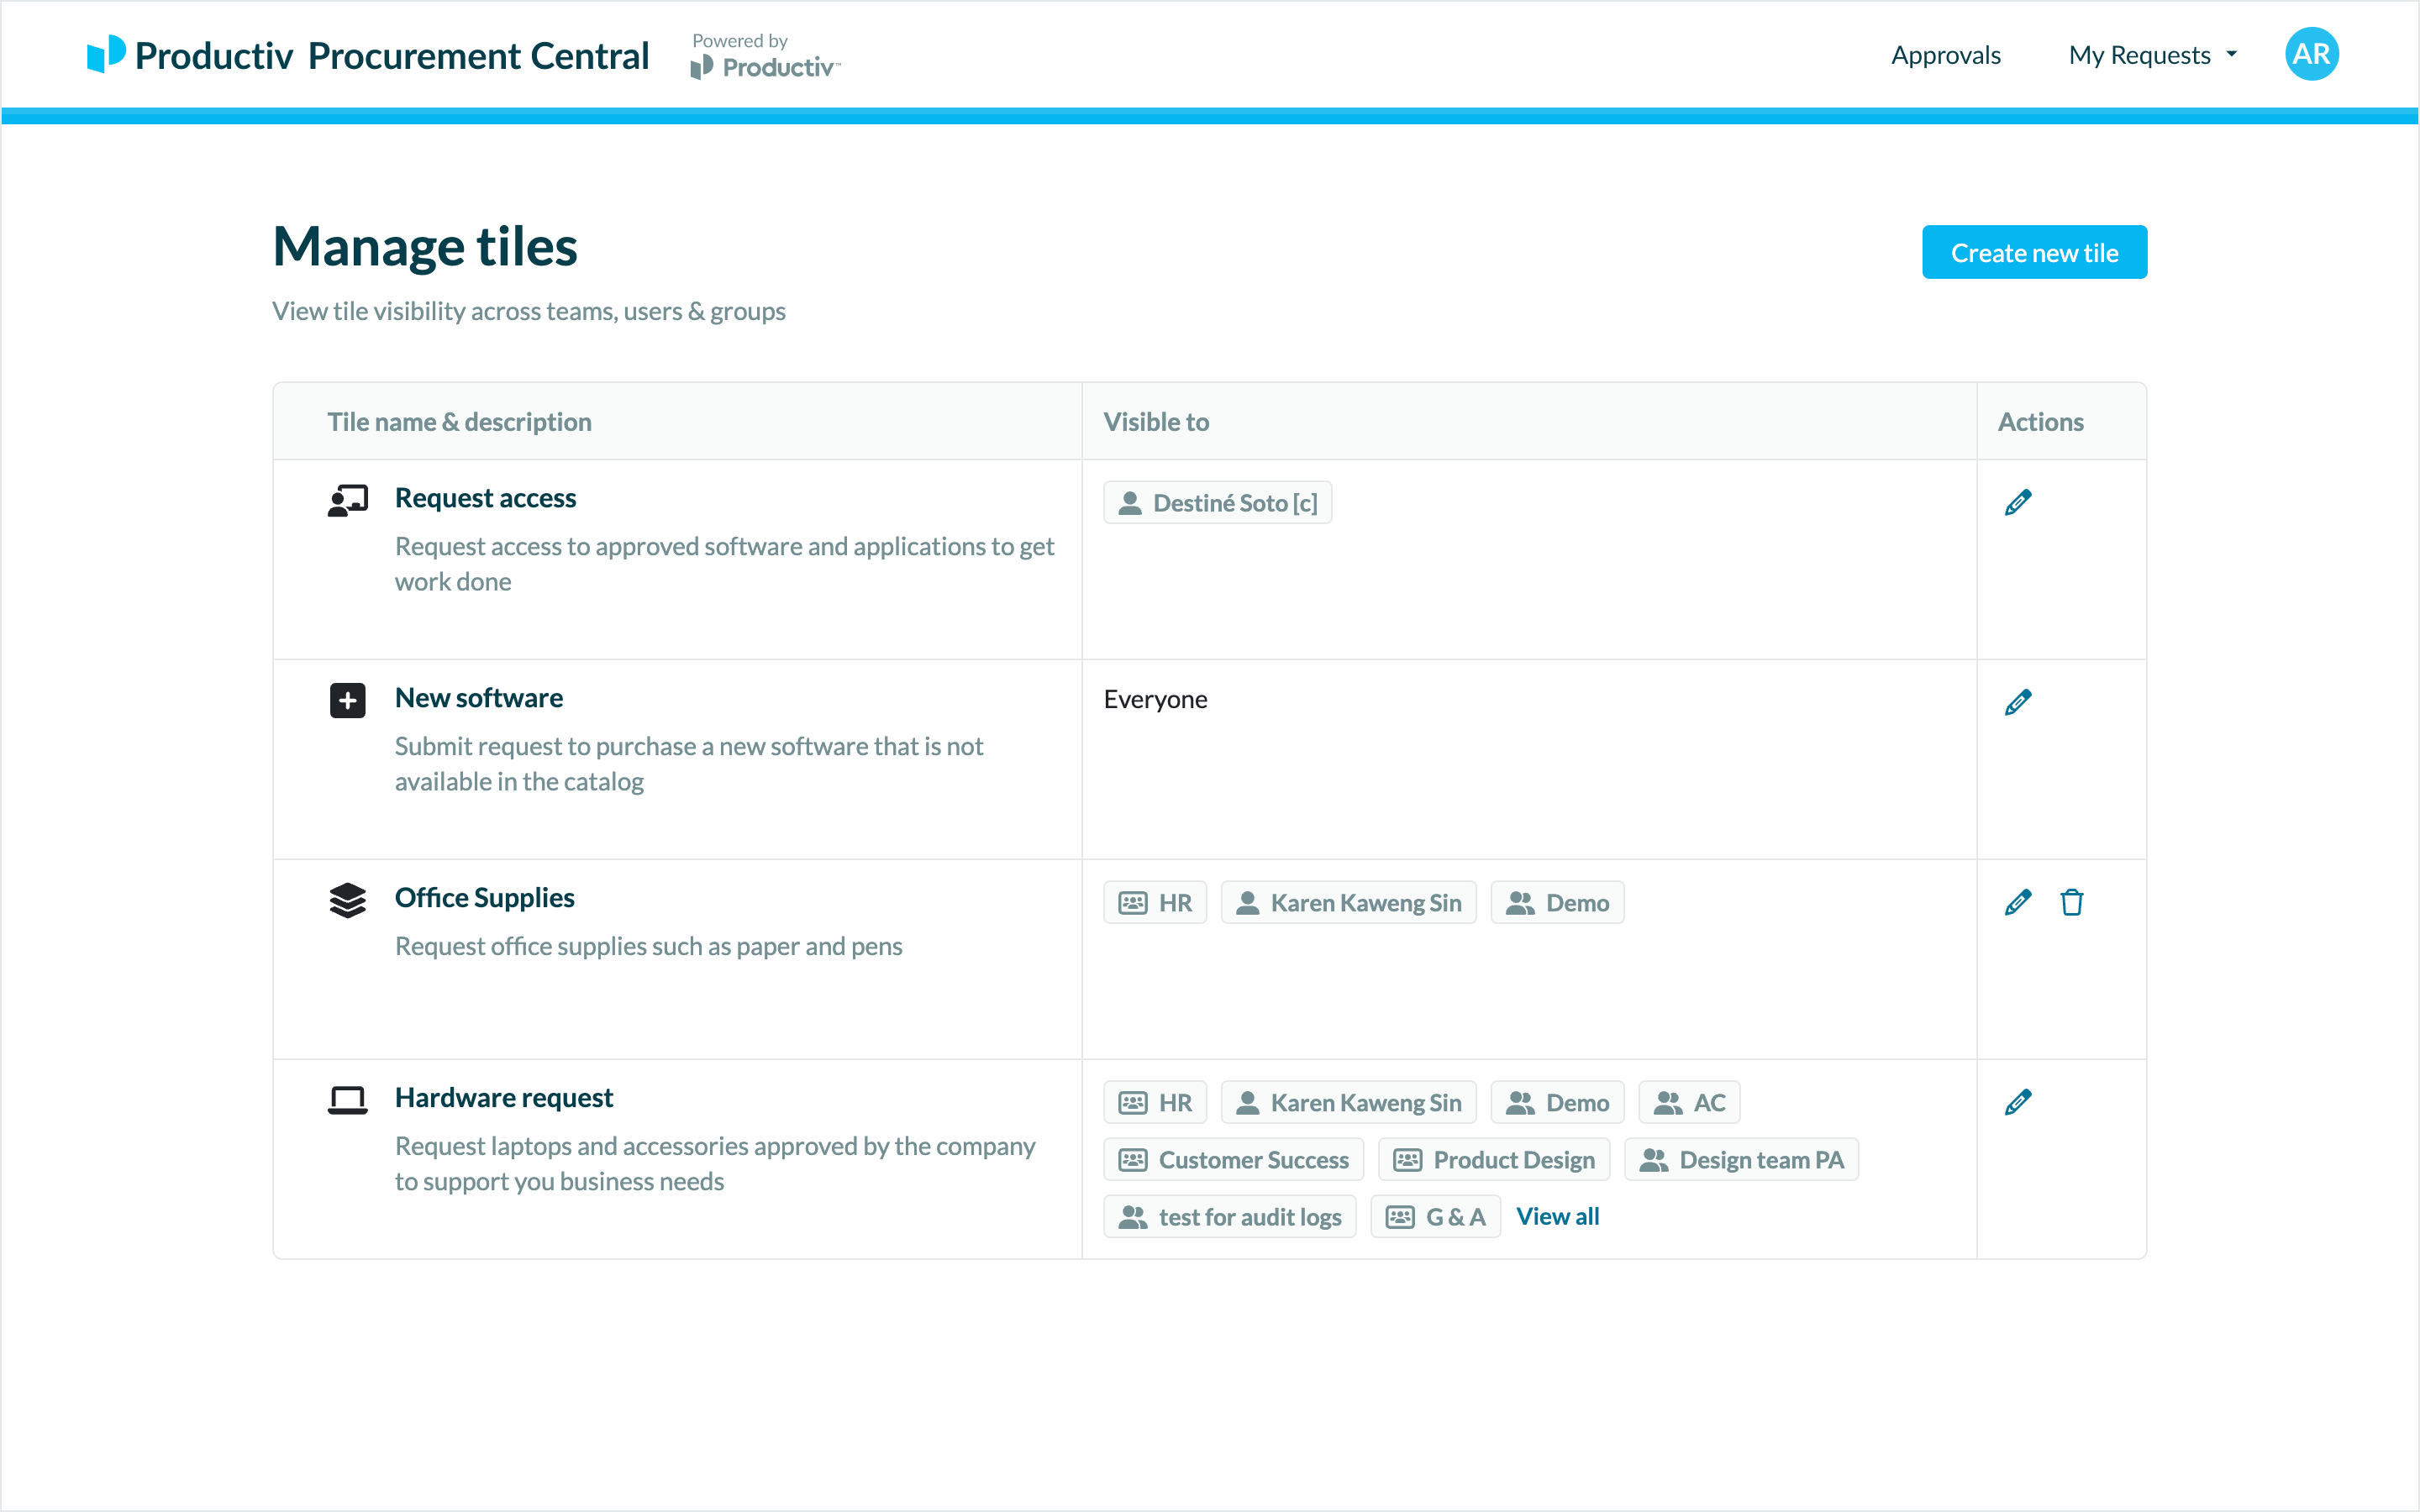
- You will then be presented with a table with a list of tiles. The last column lists the actions that you can take on each tile.
- Creating a tile
- To create the tile, click on the "Create new tile" button visible in the top right portion of the page.
- You will now see a new page which requests the following information:
- Request name - this is the name of the tile that employees will see when they land on Productiv. Provide a concise but clear name that explains what they are requesting form. e.g. Hardware request.
- Description - this allows you to further explain what the tile is for.
- Icon - choose an icon that matches your type of request.
- Destination - you can choose to either open a published workflow that you have previously created or open a link to an external site. (Learn how you can publish a form here)
- Visibility - this allows you to control who is able to see the tile. You can choose to assign tiles to a select group of users, teams or groups.
- Once you have entered all the information, click "Create" to create the tile.


- Editing a tile
- You can edit all attributes of tiles you have created
- When you edit tiles that were defined by Productiv, you can only update the following attributes: Request name, description, icon and visibility.
- Deleting a tile
- You can only delete that you have created.
- Once you delete a tile, it is permanently removed from the page. This action cannot be undone.