Update apps to use custom app fields
This article describes how to add custom app fields to existing apps.
We assume you have already created custom app fields and uploaded them to Productiv, as described in Create custom app fields.
See also: Custom app fields and app attributes overview, App field formats for required app data
After you have created custom app fields and they are visible in Settings > Manage data > Bulk upload app data, you must update your apps to display the new or changed custom fields.
This is Part IV of the procedure we describe in Create custom app fields.
Part IV. Update existing apps
- Move to the subsection titled Update app attributes.
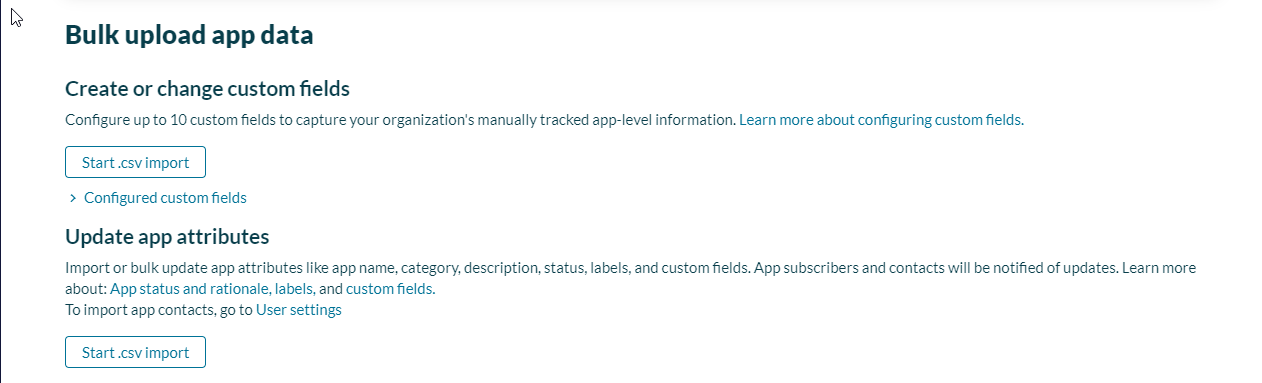
- Click Start .csv import.
Productiv launches the Import app attributes wizard.
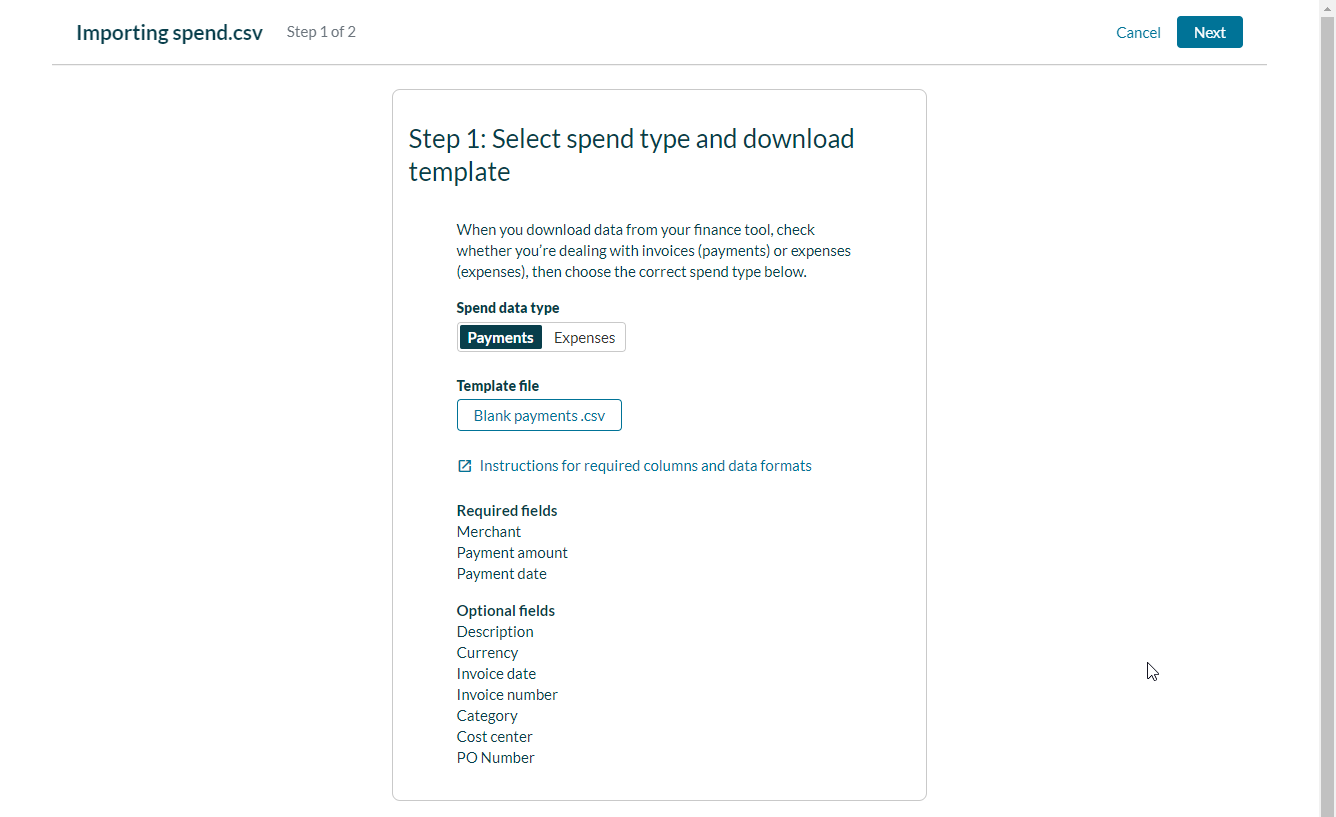
The primary purpose of this first step is to provide you with a .csv backup of your current data attributes, including both required and optional fields. (Notice that the Optional fields listed for your data now include the custom app fields you just configured in Parts I through III of this process.) - Click Download current app attributes.csv. Productiv provides a copy of all your current app attributes as a file named Productiv_bulk-upload_app-attributes.csv, similar to this:
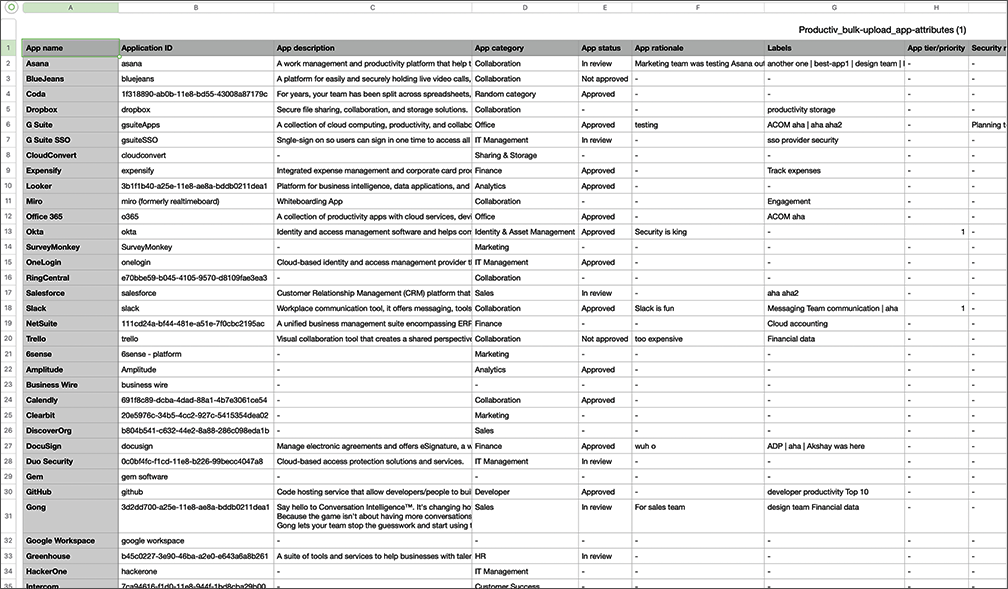
- Make a backup copy of your current data, and use the second copy to import the new attributes you just created.
Note the number of rows in your .csv file. You'll need it after you upload your changes. - Edit the file and manually add the new custom fields you just created. Keep in mind the guidance for required columns and data formats displayed on this page. (The Instructions link on this page goes directly to the Help Center topic App field formats for required and optional data.)
- When you are finished editing, return to the Import app attributes wizard and click Next.
Productiv displays the second page of the wizard.
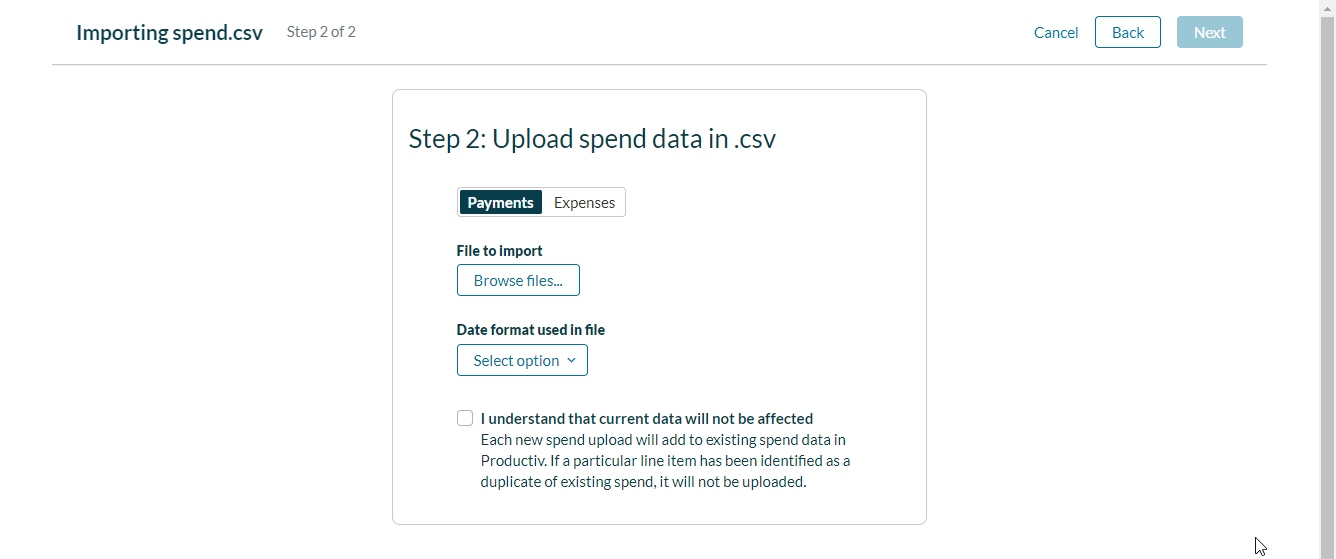
- Select I understand that this will replace current data.
- Click Upload app attributes .csv...
- Navigate to the edited .csv file on your local drive and click Open.
-
To upload this file, click Finish importing.
The file uploads to Productiv.


If all your edits were formatted properly, Productiv returns you to Settings > Manage data > Bulk upload app data. A banner confirms the number of rows that were successfully imported.
| Note: If you see a number that seems different from the number of rows you thought you edited, it may mean that some of your changes were not made. You might want to try editing those rows again, or editing the rows manually in the App details page. |
Viewing your changes
Now that you've created new custom App fields and updated your apps to make use of them, you can see the result in the product in two places:
- across all applications in the App list, by opening the column selector and adding the new column; and
- in the App details Overview page, where the new fields appear as new custom field properties in the Summary sidebar.