Create custom app fields
This article describes how to access the Productiv configuration wizard to create custom app fields.
See also: Custom app fields and app attributes overview, Update apps to use custom fields, and Update app attributes
Custom app fields are attributes that an app owner with App admin privileges can add to their apps to enrich app data. The custom app fields appear in locations such as the App Portfolio.

You can create up to 100 new custom app attributes of the following data types:
- Single select
- Multi select
- Text
- Number
- Date
- Currency
- Hyperlink
Part I: Create and upload custom app fields
- Go to the navigation pane and click Settings. Productiv displays the Settings page, with the Manage data tab in focus.
- Scroll down the page until you reach the Bulk upload app data section.
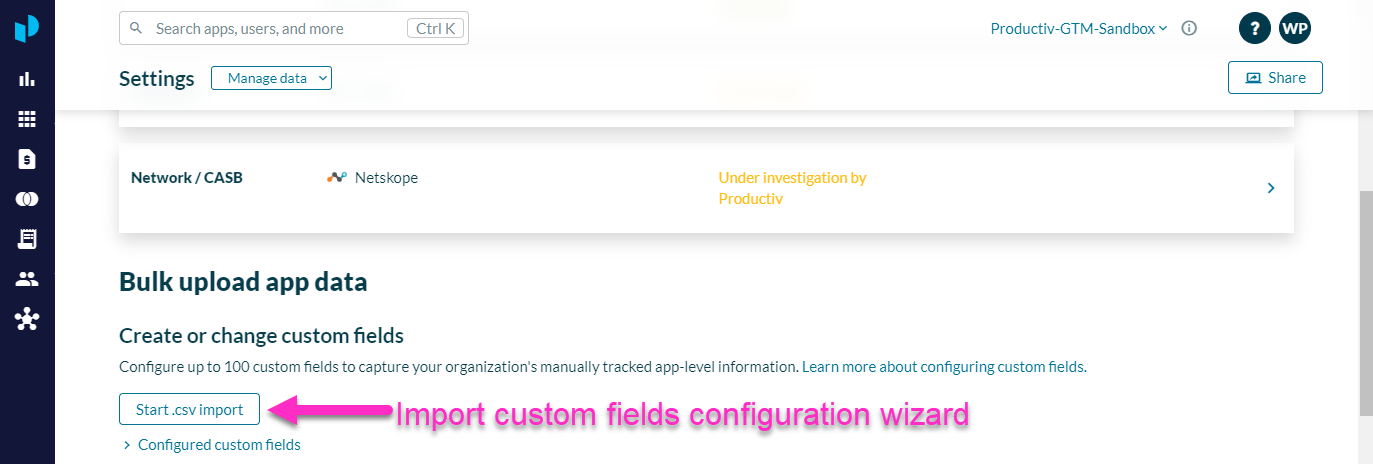
- To check the list of existing custom fields, click Configured custom fields. After you upload your new or changed custom fields, your changes should be present on this list.
- Click Start .csv import. Productiv launches the Import custom fields configuration wizard.
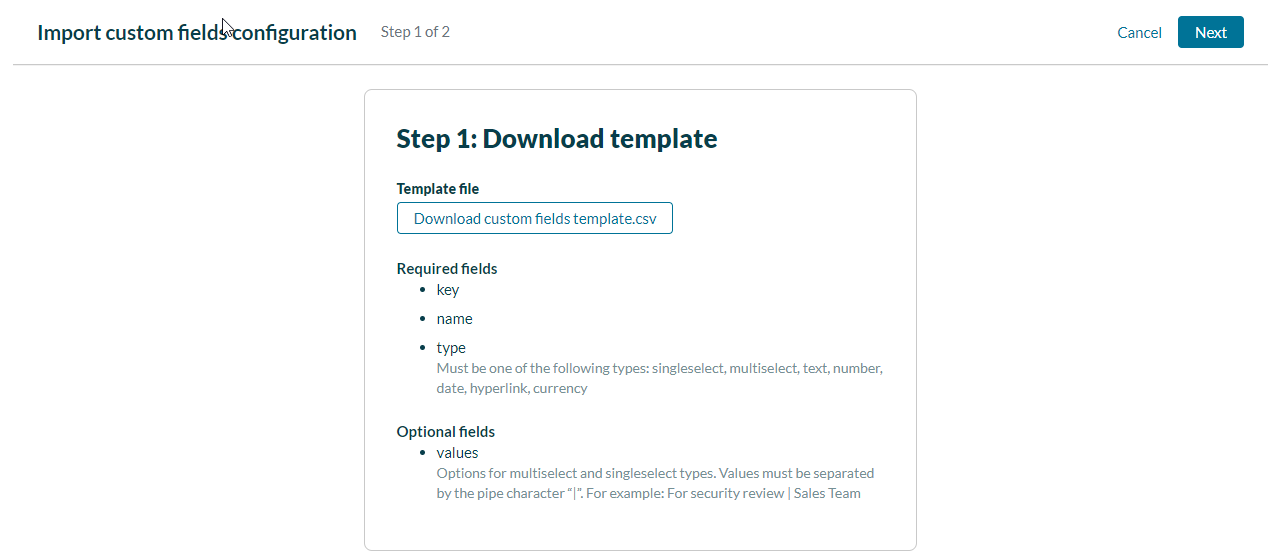
- Click Download custom fields template.csv.
Productiv downloads a .csv file template named Productiv_bulk-uploads_custom-fields. The template contains examples of several types of possible custom fields, formatted in the way Productiv expects to see it. -
Use the template to specify the changes you wish to make.
If you want to add new custom fields, find an example that has the right data type, and substitute the names and values for the fields you wish to create.
If you want to change an existing custom field, find an example that has the right data type, enter the name of the current field, and substitute the new values you want that field to express.For a complete list of all required and optional app data, see App field formats for required and optional data. - To continue, click Next. Productiv displays page 2 of the Import custom fields configuration wizard.

This page reminds you that once you upload the .csv file with specifications for new or changed fields, the information over-writes existing data, and new fields display. - Select I understand that the new uploaded data will replace the existing data.
- Click Upload custom Fields configuration .csv.
- Navigate to the edited .csv file on your local drive and click Open.
- To upload this file, click Finish importing.


Productiv checks your .csv file to ensure all formatting is correct. If there’s a problem with any of the entries you just made in the template, Productiv displays an error message and lets you correct your file before re-uploading.
Part II. Check your list of Configured custom fields
Once your upload is correct and complete, Productiv returns you to the Settings > Manage data > Bulk upload app data page.
If you have added new fields, you should now see those fields listed under Configured custom fields.
Part III. Update your apps to use the new custom app fields
Now that you have created your new custom field(s), you must update all apps in your portfolio to display them. Continue to Update apps to use custom fields.